If you’re interested in travel vlogging, you’re going to need a video editing tool!
I use and recommend CapCut for video editing on all social media platforms. I use the phone app for Instagram, and desktop editor for YouTube.
If you love to travel, travel vlogging offers an engaging platform to showcase journeys and personal experiences to a global audience.
Whether you’re climbing mountains, exploring cities, or enjoying rejote beaches, a well-edited travel vlog can transform raw footage into a cinematic masterpiece.
CapCut desktop video editor is a user-friendly yet relatively versatile video editing application that you can utilize to create engaging travel vlogs.
Here’s how you can edit your travel vlogs like a pro using CapCut.
Organizing Your Footage Before Editing
Editing a travel vlog starts even before you launch the CapCut desktop video editor.
Begin by organizing your clips into folders based on the location, activity, or timeline of your trip.
Rename files to avoid confusion and save time during editing. By doing this, you’ll have a structured workflow when importing files into CapCut.
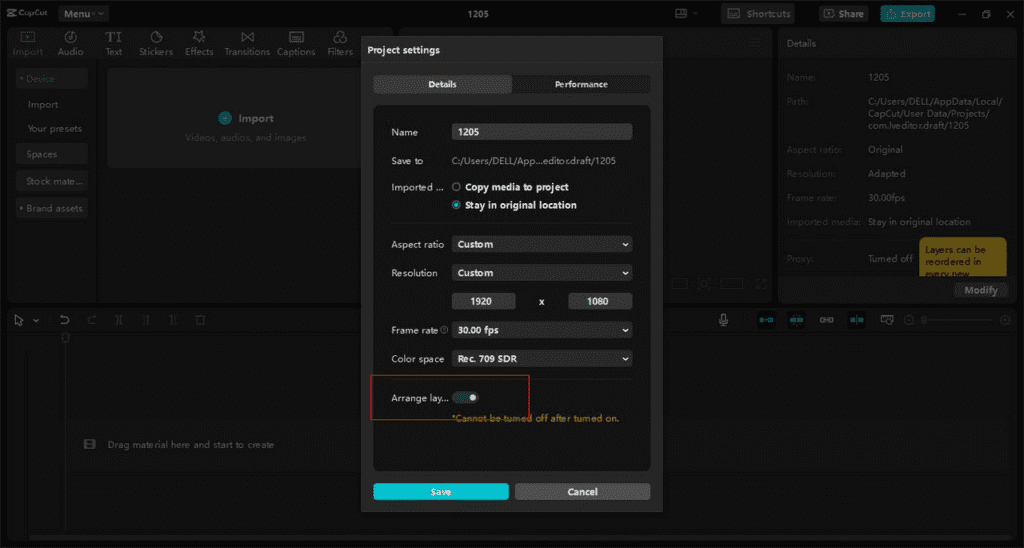
Once your files are ready, open the CapCut desktop video editor and click on a new project. You can directly drag and drop your footage into the timeline of CapCut.

The timeline is your canvas. CapCut has an intuitive timeline with no distractions where you can arrange your clips and change their length accurately.
Mastering the Timeline
Trim Excess Footage: Eliminate all the fluff to ensure that each vlog is simple to digest and does not overwhelm the viewer.
Concentrate on the scenes that characterize your traveling experience most closely.

Arrange Clips Creatively: Try out different combinations of the clips. Perhaps start with a dramatic landscape shot or a close-up of an intriguing cultural activity to hook your audience.
Use CapCut’s “Split” tool to break longer clips into shorter, manageable pieces, making transitions smoother.

Add Cinematic Transitions
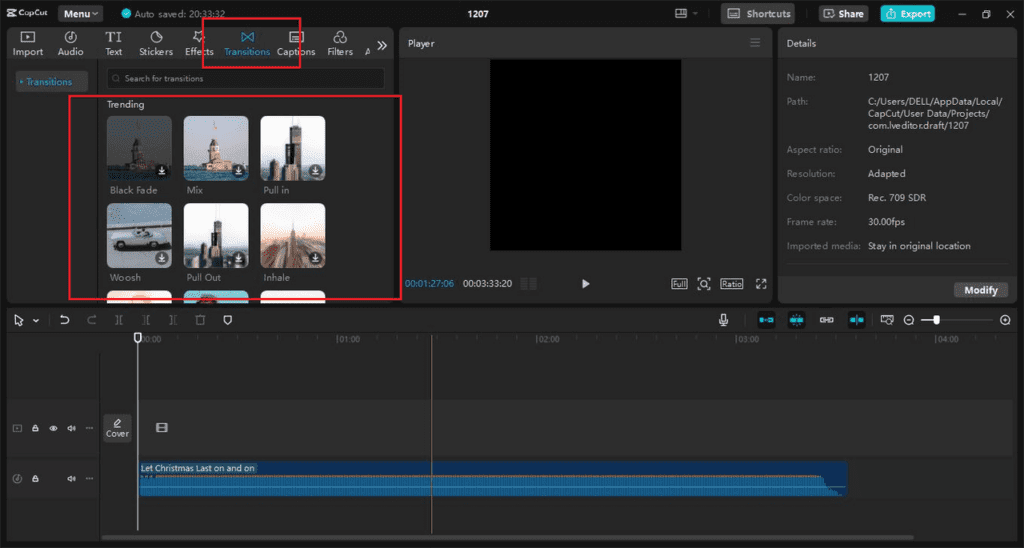
Transitions elevate the flow of your travel vlog. This free video editing software offers a wide variety of built-in transitions such as crossfades, wipes, and zooms. Use them thoughtfully to maintain a smooth flow and keep the focus on your story.
For example, use:
Fade-ins and fade-outs for serene scenes, like sunsets or beaches.
Zoom transitions create a sense of movement when shifting between locations.
Quick cuts for dynamic activities like hiking or city tours.
Travel vlogs are all about visual appeal, and color grading can bring your footage to life.

Enhancing Colors with Filters and Color Grading
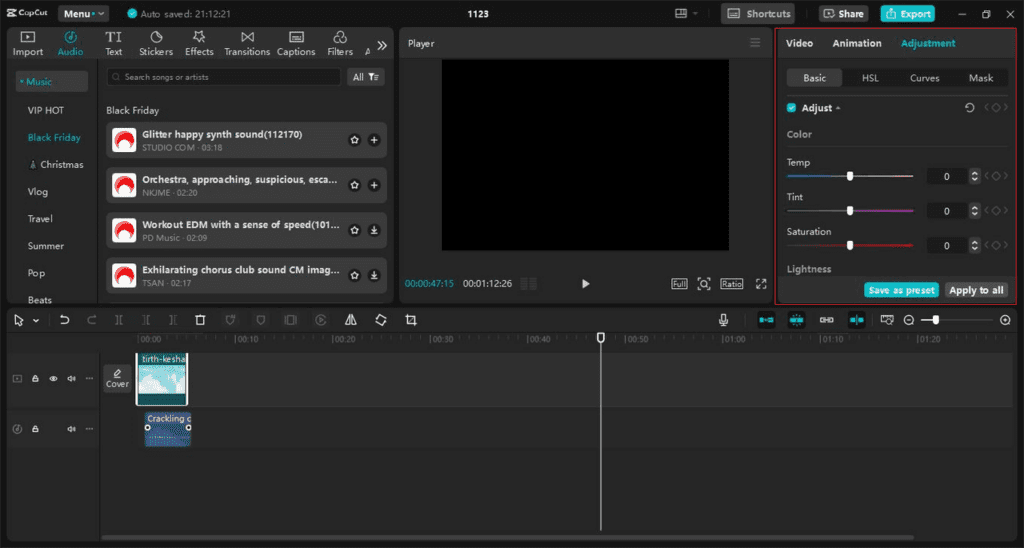
In the CapCut video editor pc, navigate to the “Adjust” panel to tweak brightness, contrast, saturation, and temperature. For a quicker solution, you can create a mood with pre-set filters:
- Warm filters for tropical beaches.
- Cool filters for snowy landscapes.
- High-contrast filters for urban exploration.
- Experiment with the sliders until your footage reflects the mood and tone of your journey.
- Creative Al features like background remover and green screen are also free in this tool.

Synchronizing Music and Audio
Music creates the mood of your vlog. Using CapCut, you can quickly add background tracks and have them in tune with your clips. Select music that is licensed for use without paying royalties and that is suitable for your story or topic and adds value to your video.
Here’s how to fine-tune your audio:
Beat Matching: Use CapCut’s audio waveforms to align key moments of your footage with beats in the music.

Volume Adjustment: Ensure that background music or any form of sound remains at acceptable levels compared to speech or dialogue.

Sound Effects: You can include background music such as waves, city noises, or wind blowing through the leaves of trees for a more realistic feel.

Include Captivating Text Overlays
Text overlays can add context to your travel vlog, such as location names, fun facts, or quotes. CapCut Desktop offers a library of stylish text templates that you can customize. This app also offers free text-to-speech options. You can try your favorite voiceovers without any worries.

You can use text to:
- Introduce new destinations.
- Highlight key moments.
- Add subtitles for accessibility and engagement.
- Customize the font, colors, and animations to reflect your vlog’s style, or save time by applying pre-made filters to set the perfect tone.

Leverage Motion Effects
CapCut’s motion effects, like slow motion and time-lapse, can transform ordinary footage into something extraordinary.
Slow Motion: This one is best used for jumping into a lake or the waves splashing against the shore.
Time-Lapse: Ideal for seascape, city skyline, markets, and crowded areas.
Use these effects only occasionally to ensure that your work remains professional.

Exporting Your Vlog
CapCut desktop video editor also recognizes high-quality exports, so your vlog looks great on whatever platforms you upload it. The resolution (1080p or 4K) and frame rate depend on the target audience and platform where the video will be posted.

Conclusion
Editing travel vlogs with CapCut is a creative and rewarding process. Its user-friendly design and robust features cater to novices while providing sophisticated options for experienced editors.
By mastering CapCut’s timeline, transitions, color grading, and motion effects, you can create vlogs that captivate your audience and bring your travels to life.
Begin editing today, and don’t forget to subscribe to The Wanderlover on YouTube!
Read Next
How to Start a Travel Blog: Become a Travel Blogger and Make Money Blogging
So You Want to Be a Content Creator? Here’s All You Need to Know
How to Land Paid Brand Deals as an Influencer
How to Get 10k Instagram Followers
What to Do When Your Followers Copy Your Content
88 Nature Beauty Captions for Instagram
How to Become a Travel Influencer
How to Earn Money as an Influencer
Social Media and Content Creation Expert Tips with Away Lands Founder Amy Seder
111+ Captions for Instagram Travel Adventures Around the World


